A lot of concealed-carry practice starts from the same position: standing still, facing a target, with plenty of room around you.
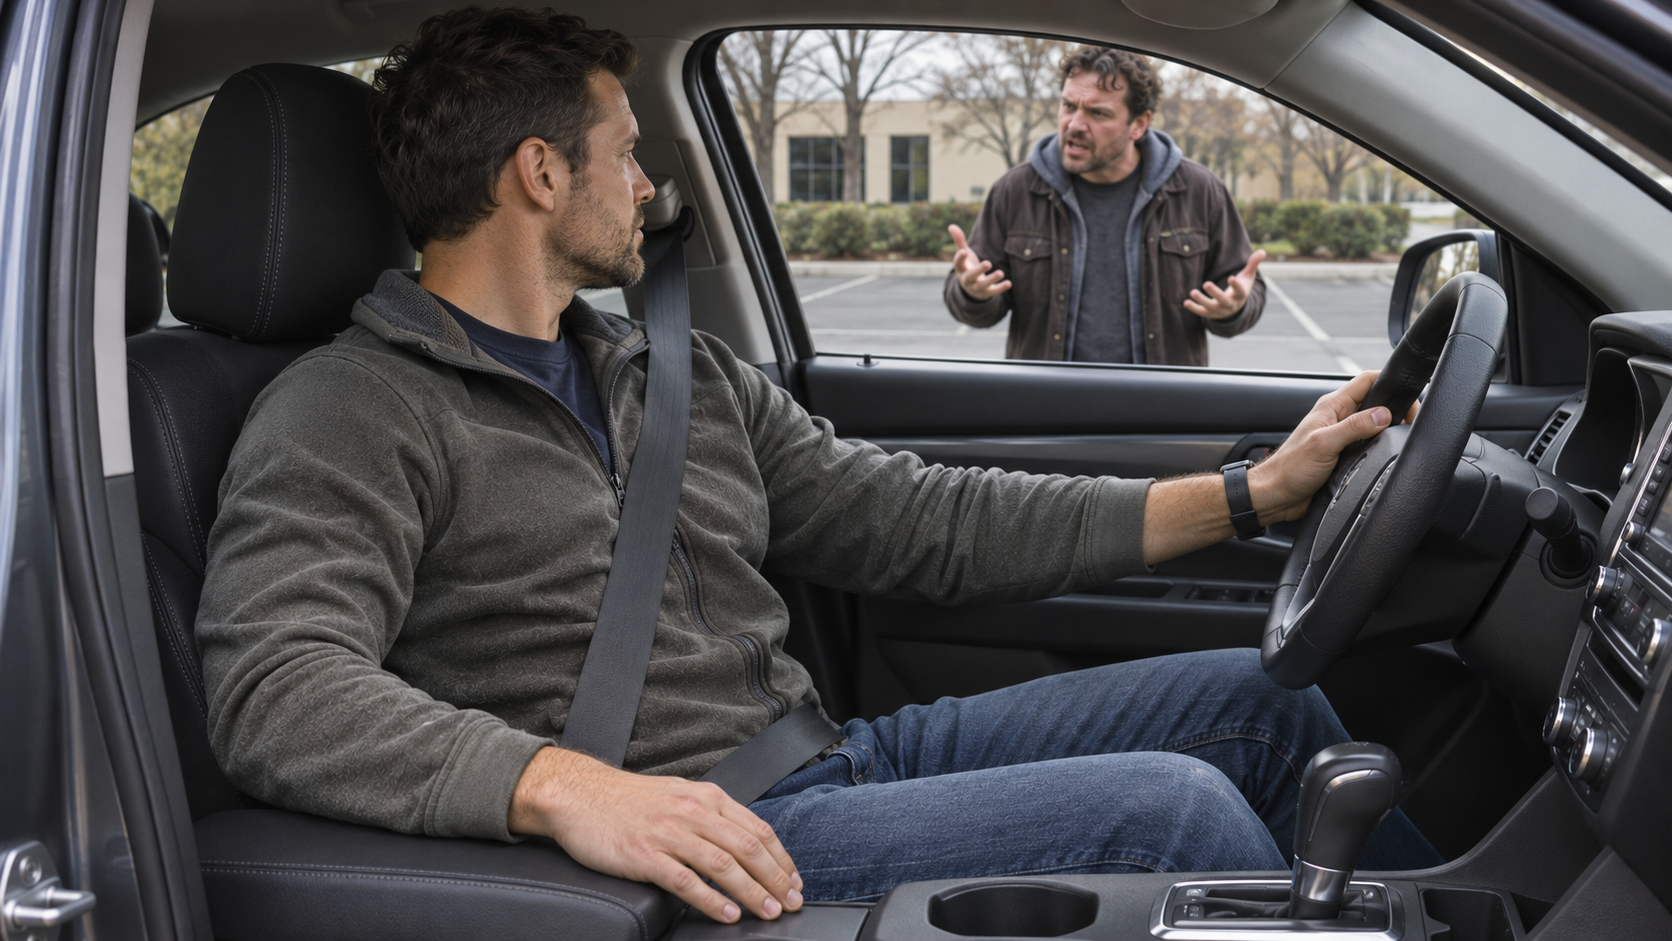
But people spend hours sitting in cars, at desks, in restaurants, and at home. When you sit, clothing shifts. A seat belt crosses your body. A chair, table, steering wheel, or center console takes up space. A carry setup that feels comfortable while standing may feel different after a long drive.
That gives you something useful to work on. You can check how your normal clothing and seat belt affect comfort and concealment without handling a firearm. Then you can take those observations to a qualified instructor and practice the firearm-handling portion under supervision.
This article gives you a simple process:
- Check your usual seated positions and clothing.
- Record what changes and what feels uncomfortable.
- Bring those observations to a qualified instructor.
- Practice firearm handling only within a structured class or range session.
The exercises below are not a substitute for instruction. They are designed to help you arrive at instruction with clearer questions and a better understanding of your everyday setup.
Start With a Specific Training Goal
“Get better at drawing while seated” is too broad to guide useful practice. It can also tempt people to start rehearsing movements before they have checked their equipment, environment, or safety plan.
Instead, identify the particular problem you want to understand. For example:
- Does my jacket bunch up when I sit?
- Does the seat belt press on my holster?
- Is my carry setup comfortable during a long drive?
- Does my clothing shift when I get in and out of the car?
- Does my current carry position make it difficult to sit naturally?
These are different questions. One might be answered by changing clothing. Another might call for a conversation with an instructor about equipment fit. A third may reveal that the person needs a different carry arrangement for comfort. You do not need to solve every question yourself.
Before you start, write down one or two goals. Keep them observable. “My outer layer rides up when I sit” is more useful than “my setup feels wrong.” “The seat belt presses against this area” gives an instructor something concrete to discuss.
The goal of this first stage is not to rehearse a draw. It is to identify what happens in your ordinary routine so your training can address the right issue.
Make a Simple Carry Setup Inventory
Before doing any checks, list the equipment and clothing you actually use. Keep this inventory descriptive. It is not a shopping list, and it is not a recommendation to change your setup.
Write down:
- The carry position you normally use.
- The holster and belt you typically wear.
- The clothing you wear most often.
- The outer layers you use in cold weather.
- Whether you usually drive, ride as a passenger, or use public transportation.
- Any comfort or mobility issues that affect how long you can sit.
You can also note what kind of seat you use most often. A compact car, work truck, office chair, and kitchen chair all create different conditions. The point is to record your regular life, not to test an extreme scenario.
This inventory can help an instructor tailor a discussion to your actual equipment and routine. It can also show whether the issue is consistent or only happens with one garment, one seat, or one activity.
Do not take a firearm out to inspect it as part of this exercise. The inventory can be completed from memory or by looking at the gear while it is stored according to your normal safety practices. If you have questions about handling or inspecting your firearm, follow the manufacturer’s instructions and ask a qualified instructor.
Drill One: The Seated Comfort and Clothing Check
This first exercise involves no firearm and no draw movements. It is an observation drill.
Choose three places where you commonly sit: for example, your vehicle seat, a desk chair, and a dining chair. Wear the clothing you normally wear in each setting. Do not bring a firearm into the exercise. Do not imitate a draw or reach toward your carry position.
For each seat, sit normally for a few minutes. Notice whether your clothing pulls, folds, or bunches. Notice whether the waistband feels uncomfortable or whether an outer layer shifts. Stand up and observe whether the clothing returns to its original position or stays displaced.
Write down what you notice. Use simple descriptions:
- “Jacket front folds under when seated.”
- “Shirt pulls tight across the waist.”
- “Belt feels uncomfortable after ten minutes.”
- “Getting out of this chair pulls the outer layer backward.”
- “No meaningful change.”
The last result is useful, too. You may find that your clothing and seat do not create a problem in ordinary use. If something does change, you now have a specific observation to bring to class.
Do not turn this into a speed test. Do not practice clearing garments. Do not rehearse reaching for or drawing a firearm. This drill is about understanding clothing and comfort, not handling.
Drill Two: The Seat Belt Observation Check
A seat belt can press against clothing and equipment. The purpose of this check is to notice comfort and clothing movement during ordinary use, not to practice getting around the belt.
Do this with no firearm present. Sit in your parked vehicle in its normal configuration. Fasten the seat belt as you normally would. Do not reach toward your carry position, manipulate the belt, or practice a draw.
Spend a few minutes sitting as you would during a normal drive. Notice where the belt rests and whether it presses uncomfortably against clothing or equipment. Then unfasten the belt normally, exit the vehicle, and check whether your clothing has shifted.
Write down what you observed:
- Did the belt press on a particular area?
- Did it pull or bunch your outer layer?
- Did your clothing stay displaced after you stood up?
- Was the issue present right away or only after sitting for a while?
- Did your seat adjustment change the comfort?
Repeat the observation once with the clothing you usually wear while driving and, on another occasion, with a different normal outfit. Don’t add unusual garments or change equipment just to force a result. You’re looking for patterns in your everyday use.
A seat belt is an essential safety device. Do not alter it, route it differently, or leave it unfastened to make a carry setup more convenient. If the interaction between your belt and equipment raises a training question, take that question to a qualified instructor.
Drill Three: Compare Your Everyday Seats
The vehicle is only one place where you sit. Compare it with two other seats you use regularly, such as an office chair and a dining chair.
Again, keep the exercise observation-only. No firearm should be present, and you should not mimic a draw. Sit down and stand up normally. Notice how much room you have around your torso and arms. Pay attention to clothing and comfort. Note whether you naturally lean, twist, or shift to get comfortable.
This comparison can prevent a common mistake: assuming that one seated position represents all the others. A low couch, a narrow chair, and a driver’s seat can each feel different. Training should reflect the environments that matter in your daily life, while still taking place in an appropriate supervised setting.
Record the differences in a short table or notebook:
| Seat | Clothing change | Comfort issue | Question for instructor |
| Vehicle | Outer layer shifts | Belt presses at waist | How should I evaluate this safely? |
| Desk chair | No visible change | None | Does class cover seated practice? |
| Dining chair | Shirt bunches | Slight pressure | Is this a clothing issue or equipment issue? |
Bring this information to class. The notes may help the instructor understand what you mean more quickly than a general statement like “it feels awkward when I sit.”
What These At-Home Checks Can—and Cannot—Tell You
The observation drills can tell you whether clothing shifts, whether a seat belt is uncomfortable, and which positions deserve a closer look. They can help you describe your routine and prepare useful questions.
They cannot tell you whether a particular draw technique is safe or appropriate. They cannot confirm that your equipment is fitted correctly. They cannot replace instruction in firearm handling. And they cannot show how you would respond in a real emergency.
That distinction matters. A practical article should give readers something useful to do, but it should not encourage them to improvise firearm drills in a vehicle or at home. A clothing check is low-risk because it involves no firearm and no draw practice. The hands-on work belongs in a structured class.
The National Shooting Sports Foundation’s firearm-safety guidance emphasizes maintaining a safe muzzle direction, keeping the trigger finger away from the trigger until ready to shoot, and understanding the firearm being used. Those are baseline responsibilities whenever a firearm is handled.
Bring Your Notes to a Qualified Instructor
Before signing up, contact the instructor and explain what you want to learn. Be specific: “I’m comfortable standing, but I want to understand how my seat belt and clothing affect my setup when seated.” That gives the instructor a chance to tell you whether the course covers your question.
Ask what to bring. The instructor may want you to wear ordinary clothing, bring an outer layer, or leave certain equipment at home. Follow the class’s rules exactly. Do not bring a loaded firearm into a practice area unless the instructor and facility have clearly explained their procedures.
Ask how the class handles seated practice. Does it begin with discussion? Does it use a simulator or inert training equipment? Is there a specific safety briefing? How does the instructor decide when a student is ready for more complex practice?
A qualified instructor should be able to explain the purpose of the class, the experience level it expects, and how it manages safety. If you are unsure about an exercise, ask before participating. If you do not understand an instruction, stop and ask for clarification.
The goal is not to find the most dramatic course. It is to find instruction that matches your experience and addresses your actual question.
What a Useful Instructor-Led Session Looks Like
A responsible class should start with safety rules and a clear explanation of the training environment. Students should know what equipment is being used, where practice takes place, and how to pause or ask questions.
A useful progression might include:
- Discuss the student’s setup. The student explains their usual clothing, carry arrangement, and seated-position concerns.
- Review the class rules. The instructor explains which equipment is permitted and how the practice area is controlled.
- Begin with the simplest appropriate exercise. The instructor chooses a method that fits the student’s experience and the class’s safety plan.
- Add only one variable at a time. If the instructor decides to include a seat, belt, garment, or simulator, each change should be deliberate and explained.
- Pause for feedback. The student and instructor discuss what happened before increasing complexity.
- End with a debrief. The student records questions and next steps instead of treating the session as a pass-or-fail test.
The instructor may use classroom discussion, demonstration, inert training equipment, or other methods. The format varies by course. Do not assume that every class will use live firearms or that every seated practice question requires live fire.
If the instructor includes firearm handling, the student should follow the exact safety procedures given for that class. Do not substitute a technique from a video or another course. The instructor is responsible for managing the exercise and helping the student understand what is being practiced.
The NRA’s basic pistol training information describes online learning as something used alongside in-person instruction or trainer supervision, which is a useful reminder that reading about a skill is not the same as receiving hands-on feedback.
Ask the Instructor to Make the Drill Measurable
A useful training drill has a clear purpose and a way to review what happened. Ask the instructor what the exercise is meant to teach and what they want you to notice.
For seated practice, possible learning goals might include:
- Recognizing how a garment behaves in a seated position.
- Maintaining safe handling throughout a controlled exercise.
- Following instructions without rushing.
- Identifying when a movement or setup feels inconsistent.
- Knowing when to pause and ask for feedback.
The instructor should choose the actual drill and the equipment. Your task is to understand the goal, follow the safety plan, and communicate when something is unclear.
After each exercise, record a few observations:
- What was the instructor’s goal?
- What changed when you moved from standing to seated?
- What feedback did you receive?
- What do you want to ask before practicing again?
- What should you work on only under supervision?
This gives you a simple training record. It also helps prevent a common problem: repeating an exercise from memory without remembering the safety context or the instructor’s corrections.
Do not measure progress only by speed. A careful pause, a clear question, or a corrected safety habit can be more valuable than completing an exercise quickly.
Live-Fire Practice Requires the Right Setting
Live-fire practice should take place only in a setting designed for it, with qualified instruction and clear range rules. Whether a class includes seated positions or vehicle-like props depends on the instructor, facility, course design, and student readiness.
Do not assume that because an instructor uses a vehicle or seat in a demonstration, every range permits live fire from that position. Ask about the course format in advance. Follow the range’s rules and the instructor’s commands. If the class does not cover seated live fire, do not try to recreate it in your own vehicle.
A live-fire exercise should have a defined purpose, controlled environment, and safety procedures that every participant understands. If you are uncertain about any aspect of the setup, stop and ask. There is no benefit to continuing an exercise when you do not understand the instructions.
This article does not prescribe how to draw, aim, or fire from a seated position. Those decisions depend on the training environment and should be taught by a qualified instructor who can observe the student and manage the setting.
What Not to Practice on Your Own
The at-home drills in this article involve no firearm and no draw movements. Keep that boundary clear.
Do not practice drawing a loaded firearm in a vehicle, at a traffic light, in a parking lot, or in a home. Do not conduct live-fire practice inside a vehicle. Do not ask a family member to surprise you with a scenario. Do not copy a fast movement from an online clip and attempt it without instruction.
Do not alter a seat belt or leave it unfastened to make a carry setup easier. Do not change a holster or carry position based solely on an improvised drill. If a setup feels uncomfortable or inconsistent, write down what you noticed and discuss it with an instructor.
These limits are not meant to discourage practice. They keep practice in the right environment. A clothing and comfort check can help you learn about your routine. A firearm-handling drill requires a structured class or range session with clear safety rules.
Choose a Class That Fits Your Experience
Before registering, ask:
- Does this class address seated positions?
- Will it discuss clothing and seat belt considerations?
- What training equipment is used?
- What experience level is expected?
- What safety rules apply?
- How can students pause or ask questions?
- Is there time for individual feedback?
Ask about the instructor’s qualifications and experience. Look for a class description that explains what will happen, rather than relying on dramatic claims or vague promises. A useful instructor should be able to describe the class in plain language and tell you whether it fits your goals.
If a course is not designed for seated practice, it may still be appropriate for other skills. It simply may not answer this particular question. If a course appears more advanced than your experience, ask whether there is a prerequisite or a more suitable class to take first.
Use a Simple Practice Log
After each class, write down what you learned and what still needs attention. A brief log is enough:
- Date and class: What did you attend?
- Training goal: What did the instructor say the exercise covered?
- Observation: What changed when you were seated?
- Feedback: What did the instructor ask you to adjust or notice?
- Next step: What question or class should come next?
Keep the notes factual. “The instructor said my jacket shifted when I sat” is more useful than “I’m terrible at this.” The log is not a scorecard. It is a way to remember the lesson and avoid turning a class exercise into an unsupervised drill later.
If you are not sure whether a suggested practice method is safe to repeat on your own, ask the instructor. Do not fill in missing details from memory or a video.
A Practical First Step
You can begin today without handling a firearm:
- Write down the clothing and seats you use most often.
- Do the seated comfort and clothing check with no firearm present.
- Do the seat belt observation check in your parked vehicle, again with no firearm present.
- Record what shifted, felt uncomfortable, or raised a question.
- Contact a qualified instructor and ask whether their class covers seated practice.
That gives you a concrete starting point and useful information to bring to instruction. The firearm-handling portion belongs in a supervised setting where the instructor can explain the safety rules, choose an appropriate exercise, and give you direct feedback.
Preparedness is not about improvising a solution to every constraint. It is about noticing the constraint, asking a better question, and training in a way that respects the risks involved.